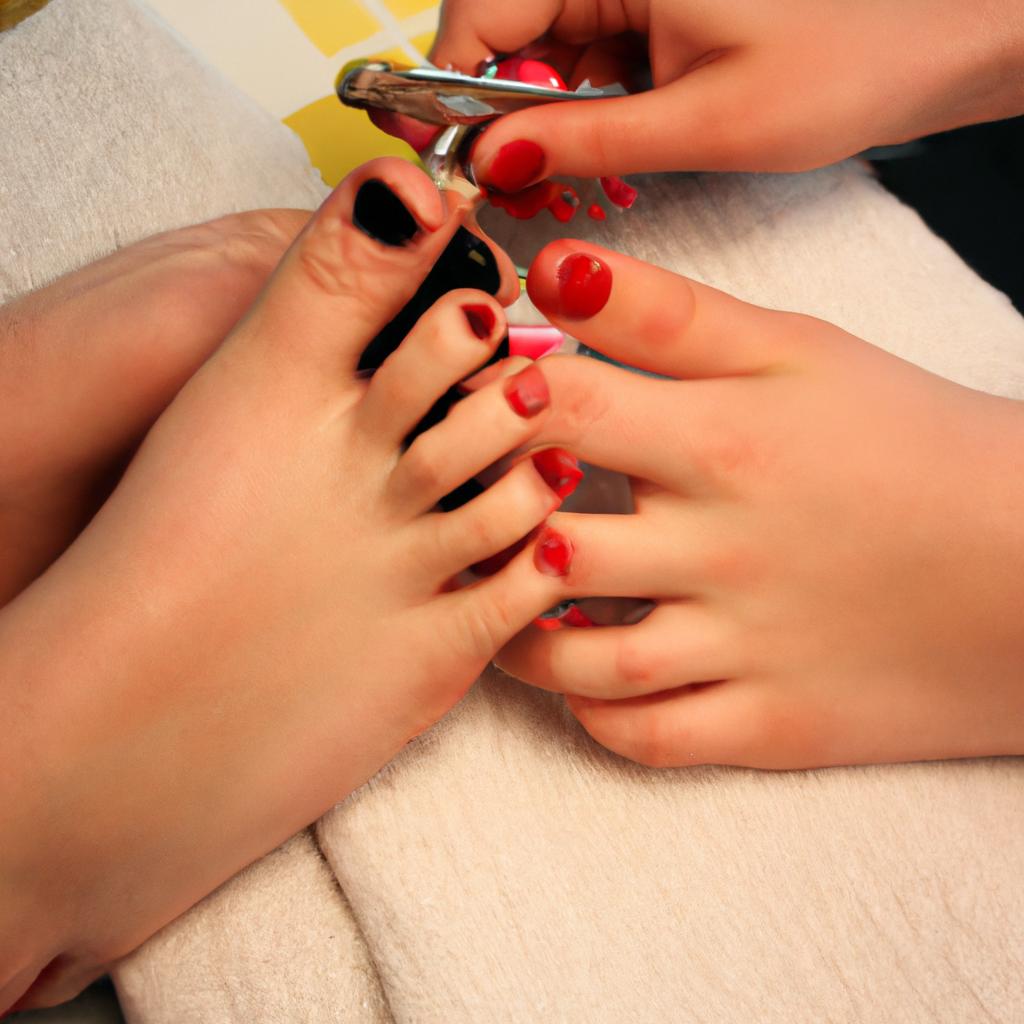
Nail polishing is an essential component of a day spa pedicure, providing the finishing touch that enhances both the aesthetic appeal and overall experience for clients. Whether it be a classic French manicure or vibrant neon shades, nail polish has the power to transform dull nails into eye-catching works of art. For instance, imagine a client with tired feet entering a serene day spa, seeking solace and rejuvenation. As they settle into their plush chair, their gaze falls upon the array of colorful polishes neatly lined up before them. The anticipation builds as they envision how each shade will complement their skin tone and elevate their mood.
In addition to its visual allure, nail polishing also offers practical benefits in terms of protection and durability. By applying a layer of high-quality nail polish, individuals can shield their nails from external elements such as moisture, dirt, and harsh chemicals encountered during daily activities. This protective barrier not only helps prevent chipping and breakage but also prolongs the longevity of the pedicure itself. Furthermore, by opting for long-lasting formulas or gel polishes, clients can enjoy flawlessly polished nails for extended periods without worrying about frequent touch-ups or color fading.
By exploring the artistry behind nail polishing techniques and understanding its functional advantages within within a day spa pedicure, clients can truly appreciate the transformative power of this beauty ritual. From intricate nail designs to simple yet elegant styles, nail polishing allows individuals to express their personal style and enhance their overall appearance. The skilled nail technicians at the day spa can expertly apply polish with precision, ensuring a smooth and even finish that adds a touch of sophistication to any look.
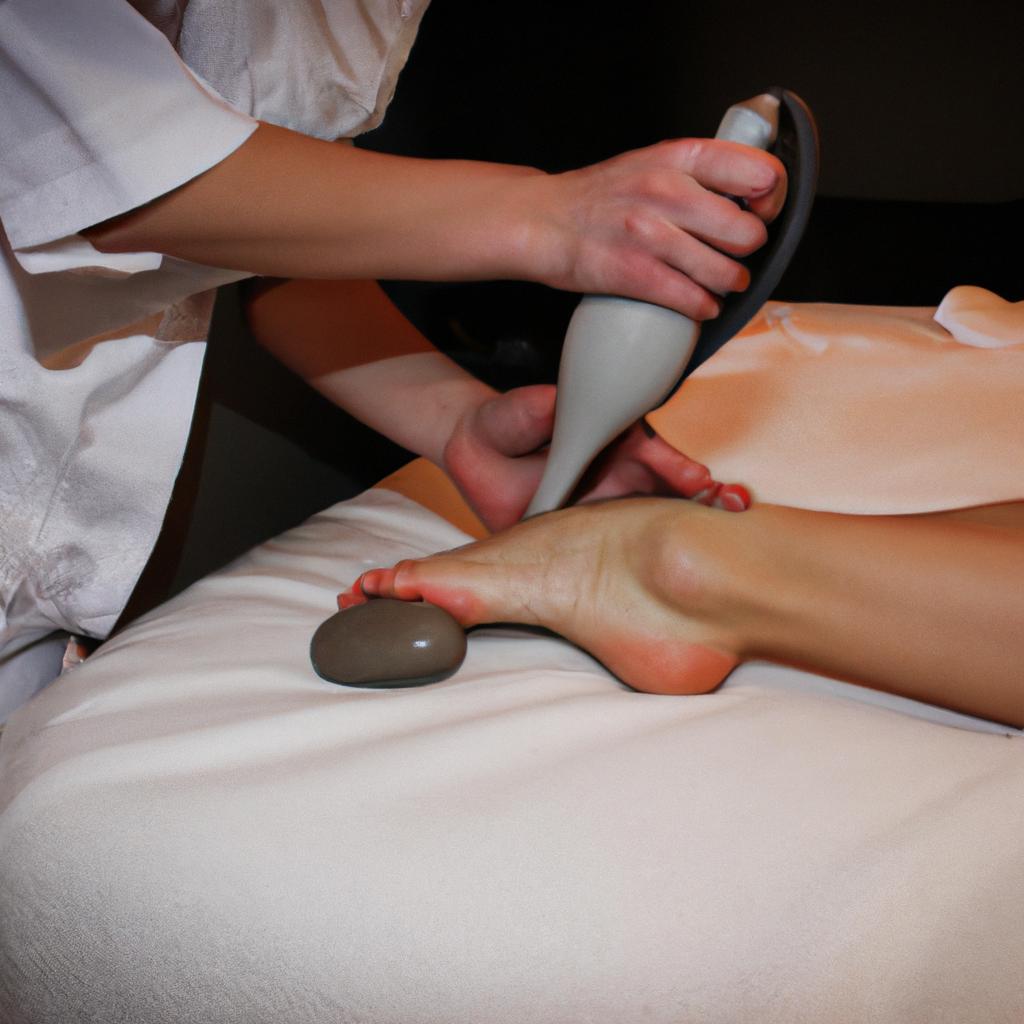
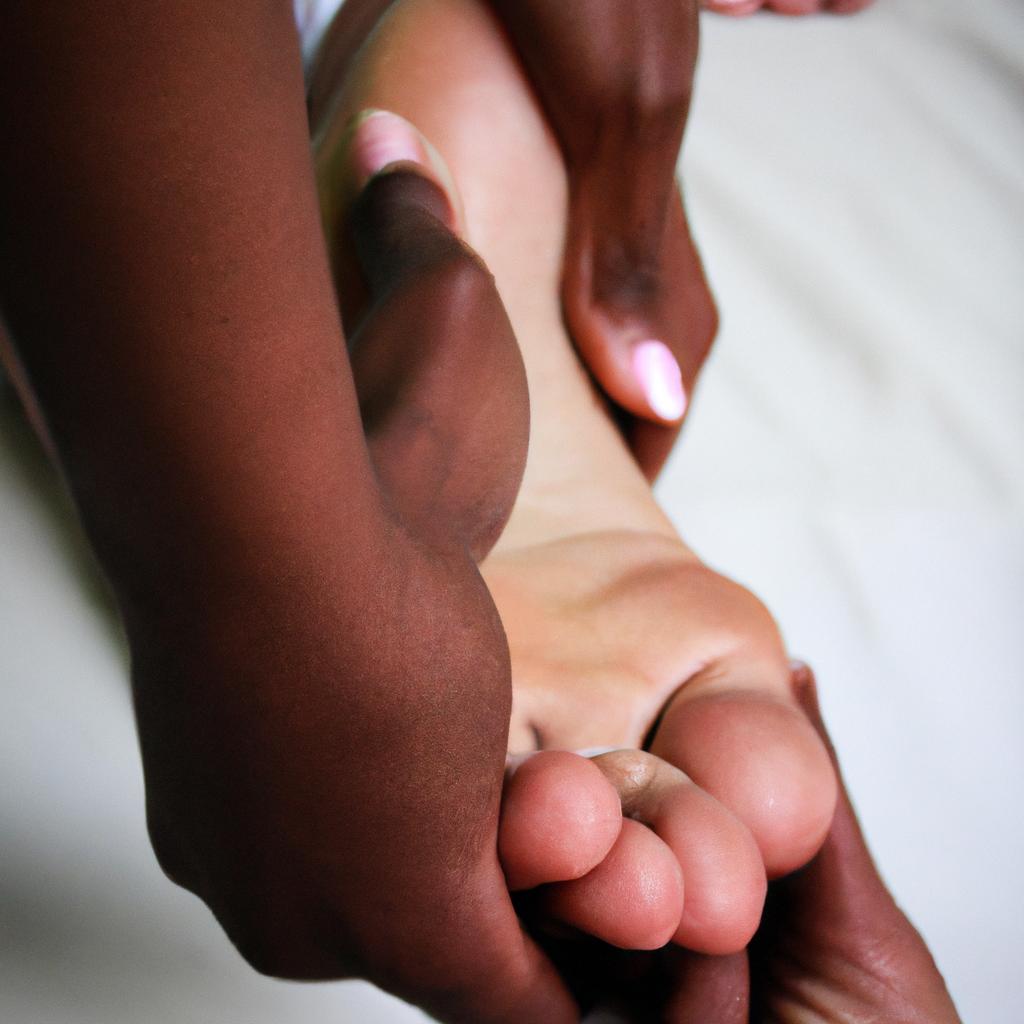
Moreover, the act of receiving a professional nail polish application can be incredibly relaxing and therapeutic. As the technician meticulously applies each stroke of color, clients can unwind and let go of stress, allowing themselves to fully embrace the pampering experience. The gentle massage techniques used during the application process also promote improved blood circulation and relieve tension in the hands and feet.
Overall, nail polishing is not just about adding color to nails; it is an art form that combines aesthetics, protection, durability, self-expression, relaxation, and rejuvenation. With its myriad benefits and endless possibilities for creativity, it’s no wonder that nail polishing is an essential component of a day spa pedicure experience.
Choosing the Right Nail Polish Color
Imagine this scenario: you walk into a day spa for a relaxing pedicure after a long and tiring week. As you settle into the comfortable chair, your eyes wander over an array of nail polish colors displayed before you. The decision to choose the right color can be overwhelming with so many options available. In this section, we will explore the factors that should guide your choice in selecting the perfect nail polish color.
When considering which nail polish color to choose, it is important to take into account your personal preferences and style. Whether you prefer subtle neutrals or bold and vibrant shades, there is a wide range of options available to suit every taste. Additionally, consider the occasion or event for which you are getting your pedicure done. For example, if you are attending a formal gathering, opting for classic red or elegant nude shades may be more appropriate than choosing neon colors.
To further assist you in making an informed decision about nail polish colors, here are some bullet points highlighting their potential emotional impact:
- Soft pastel hues like baby pink or mint green can evoke feelings of serenity and calmness.
- Warm tones such as coral or peach can create a sense of vitality and energy.
- Deep shades like burgundy or dark purple exude sophistication and confidence.
- Bold and bright colors like electric blue or fuchsia express playfulness and exuberance.
In addition to considering your personal preferences and emotions associated with different colors, another helpful tool is understanding how certain colors complement various skin tones. A table below illustrates four common skin tones along with recommended nail polish colors:
| Skin Tone | Recommended Nail Polish Colors |
|---|---|
| Fair | Light pinks, soft nudes |
| Medium | Coral, lavender |
| Olive | Teal, metallic gold |
| Dark | Deep reds, rich purples |
By taking into account your personal style, the occasion, emotional impact, and how colors complement your skin tone, you can confidently choose a nail polish color that enhances your overall pedicure experience. Prepping Your Nails for Polish is the next step in achieving perfect nails.
Note: The subsequent section on prepping nails for polish will now be discussed to ensure a smooth transition in your journey toward impeccable nail care.
Prepping Your Nails for Polish
Enhancing Your Day Spa Pedicure: Prepping Your Nails for Polish
Imagine this scenario: You walk into a day spa, excited to pamper yourself with a pedicure. As you settle into the plush chair and prepare for relaxation, you can’t help but notice how your nail polish from last month is chipped and faded. Don’t worry; prepping your nails before applying fresh polish will ensure that your new color lasts longer and looks flawless.
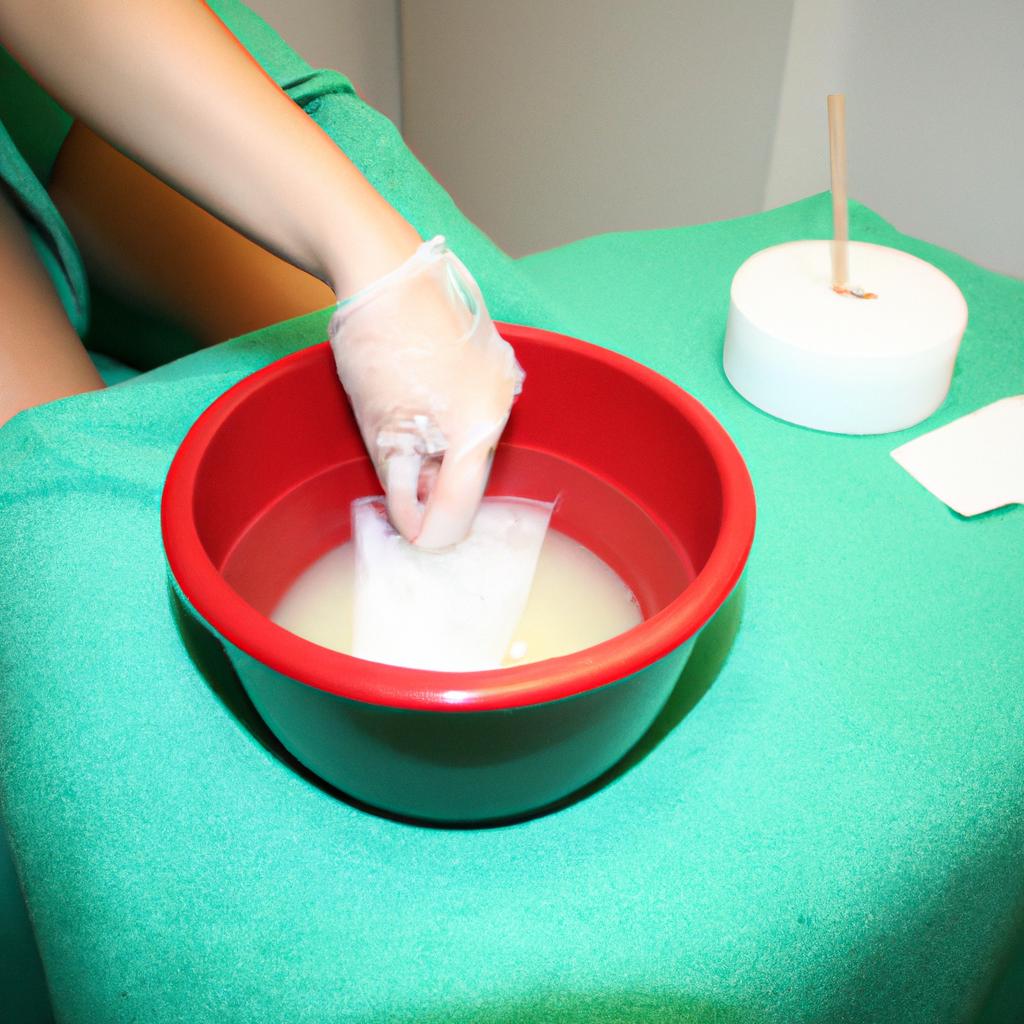
To begin, remove any existing nail polish using an acetone-based remover. This step is crucial because it eliminates residue and oils on the nail bed, ensuring better adherence of the new polish. Use cotton balls or pads saturated with the remover to gently swipe across each toenail until all remnants of old color are gone.
Next, trim your nails to the desired length using a pair of sharp clippers. Be sure to cut straight across and avoid rounding the corners, as this can lead to ingrown toenails. After trimming, use a file to shape your nails according to preference – whether square-edged or softly rounded.
Now that your nails are trimmed and shaped, it’s time to give them some attention in terms of exfoliation and moisturization. Begin by soaking your feet in warm water for approximately 10 minutes; this softens the skin around the nails for easy removal of dead cells. Following the soak, utilize a foot scrub or pumice stone to gently rub away calluses and rough patches. Finish off with a rich foot cream or lotion massaged into your feet and lower legs – not only does this nourish the skin but also provides extra hydration during the polishing process.
As you take these necessary steps towards preparing your nails for polish application, remember that proper preparation ensures optimal results. By removing old polish, trimming and shaping meticulously, then giving attention to exfoliation and moisturization, you set yourself up for success in achieving a long-lasting and flawless pedicure.
Applying Nail Polish with Precision
Enhancing the beauty and relaxation of your day spa pedicure experience involves more than just prepping your nails for polish. Once you’ve carefully prepared your nails, it’s time to move on to the next step: applying nail polish with precision. By following these expert tips and techniques, you can achieve a flawless finish that will leave you feeling pampered and polished.
Imagine this scenario: You’re sitting comfortably in a plush pedicure chair at your favorite day spa, eagerly awaiting the transformation of your tired feet into beautifully painted toes. The skilled manicurist begins by assessing the condition of your nails, ensuring they are clean, dry, and free from any residue or oils. This attention to detail sets the stage for a professional application of nail polish.
To ensure an even distribution of color and minimize smudging or streaking, consider implementing the following strategies:
- Use thin coats: Rather than applying thick layers of polish, opt for multiple thin coats. This approach allows each layer to dry thoroughly before adding another, resulting in a smoother and longer-lasting finish.
- Start with a base coat: Applying a clear base coat not only helps protect your natural nails but also provides an adhesive surface for better polish adhesion. It smooths out imperfections and creates an ideal canvas for vibrant colors.
- Clean up mistakes promptly: In case any accidental slips occur during application, keep a small brush dipped in nail polish remover handy to correct any smudges or stray marks immediately.
- Seal it all in with a top coat: A high-quality top coat serves as the ultimate protective barrier against chips and fading while providing extra shine. Apply it generously on each nail after allowing sufficient drying time for the colored polish.
Now that you have mastered the art of polishing your toenails to perfection let’s explore how adding a top coat can further enhance their appearance.
Adding a Top Coat for Long-Lasting Shine
Having mastered the art of applying nail polish with precision, let us now explore another crucial step in achieving a perfect pedicure. By adding a top coat to your freshly painted nails, you can enhance their longevity and create an enviable shine that will last for days.
Section:
Creating Lasting Shine with a Top Coat
To illustrate the importance of a top coat, consider this hypothetical scenario: You have just finished painting your toenails flawlessly using your favorite shade of red. However, within hours, you notice chipping and fading on some of the nails. What went wrong? The answer lies in skipping the essential step of applying a protective top coat.
A quality top coat not only adds durability to your nail polish but also provides an attractive glossy finish. Here are four reasons why incorporating a top coat into your pedicure routine is essential:
- Protection against chips and cracks: A top coat acts as a shield against external elements that can cause damage to your manicure or pedicure.
- Enhanced color vibrancy: By adding depth and intensity to the base color, a top coat ensures that your chosen nail polish shade stands out.
- Longer-lasting wear: With its ability to seal in the color underneath, a top coat prolongs the life of your pedicure by preventing premature fading or chipping.
- UV protection: Some top coats offer ultraviolet (UV) filters that safeguard your nails from discoloration caused by sun exposure.
In addition to these benefits, it is important to note that different types of top coats serve various purposes. From quick-drying formulas to those specifically designed for gel polishes, there is an array of options available to suit individual needs and preferences. It is advisable to select a top coat that complements your nail polish type for optimal results.
| Benefit | Description |
|---|---|
| Protection | Shields nails from chips, cracks, and external damage |
| Enhanced color vibrancy | Adds depth and intensity to the base color |
| Longer-lasting wear | Seals in the color, preventing premature fading or chipping |
| UV protection | Guards against discoloration caused by sun exposure |
With your pedicure now protected and boasting an enviable shine from the application of a top coat, let us move on to exploring tips for quick drying nail polish. By incorporating these techniques into your routine, you can ensure that your freshly polished toes are ready for action in no time at all.
Tips for Quick Drying Nail Polish
Building on the importance of a long-lasting top coat, let’s now explore how you can take your nail polishing skills to the next level by mastering professional-looking designs. Imagine being able to create intricate patterns and stylish designs that will leave everyone in awe of your pedicure at the day spa.
To achieve stunning nail art, consider the following tips:
- Experiment with colors: Don’t be afraid to mix and match different shades of polish. Whether it’s vibrant hues or subtle pastels, combining colors can add depth and dimension to your nail design.
- Use tape for clean lines: To ensure precise edges when creating geometric or striped patterns, utilize tape as a guide before applying each layer of polish. This technique helps maintain sharp boundaries between colors.
- Embrace negative space: Instead of covering your entire nail bed with polish, experiment with leaving areas unpainted to create unique negative space designs. This approach allows for a more minimalist yet eye-catching look.
- Accentuate with embellishments: Add an extra touch of glamour by incorporating rhinestones, glitter, or other decorative elements into your design. These accents can elevate any simple manicure into a dazzling work of art.
Now, let’s delve deeper into these concepts through the following table:
| Design Technique | Description | Example |
|---|---|---|
| Ombre | Gradual blending of two or more colors | Transition from light pink to dark purple |
| French Tips | Classic white tips against a colored base | White tips over a nude base |
| Polka Dots | Small round dots created using dotting tools | Black dots on a red background |
| Marble Effect | Swirling multiple colors together for marbled effect | Blue and silver swirls resembling marble |
By incorporating these design techniques, you can create a nail polish look that turns heads and showcases your personal style. Remember to have fun while experimenting with different patterns and color combinations.
Moving forward, let’s explore how you can maintain the longevity of your nail polish so that all your hard work doesn’t go to waste.
Maintaining Your Nail Polish
Having learned about the tips for quick-drying nail polish, let us now explore how to effectively maintain your nail polish. By following these simple guidelines, you can ensure that your pedicure remains flawless and long-lasting.
To illustrate the importance of proper maintenance, consider a hypothetical scenario where two individuals receive identical day spa pedicures. While one person diligently follows the recommended steps for maintaining their nail polish, the other neglects this crucial aspect. After five days, it becomes evident that the individual who maintained their nail polish has an intact manicure with minimal chipping, while the other’s pedicure displays noticeable wear and tear.
Here are key practices to help you maintain your nail polish:
-
Protecting your nails:
- Avoid exposing your freshly painted nails to excessive water or moisture.
- Wear protective gloves when performing household chores or activities involving chemicals.
-
Moisturizing regularly:
- Apply a quality cuticle oil daily to keep your skin and nails hydrated.
- Use hand creams or lotions frequently to prevent dryness and brittleness.
-
Avoiding harsh chemicals:
- Stay away from products containing acetone or strong solvents as they can weaken and damage your nails.
- Opt for gentle non-acetone removers instead.
-
Touch-ups when needed:
- Keep a matching bottle of nail polish handy for quick touch-ups in case of minor chips or scratches.
Table Example:
| Practice | Benefit |
|---|---|
| Protecting your nails | Minimizes chipping and extends longevity of the manicure |
| Moisturizing regularly | Prevents dryness and promotes healthy nail growth |
| Avoiding harsh chemicals | Preserves the strength and integrity of your nails |
| Touch-ups when needed | Maintains a flawless appearance throughout |
By implementing these practices, you can ensure that your day spa pedicure remains impeccable for an extended period. Remember, proper maintenance is essential for preserving the beauty of your manicured toes and enhancing your overall experience.
Note: It is important to note that everyone’s nail care needs may vary; therefore, it is advisable to consult with a professional nail technician or follow specific product instructions for optimal results.